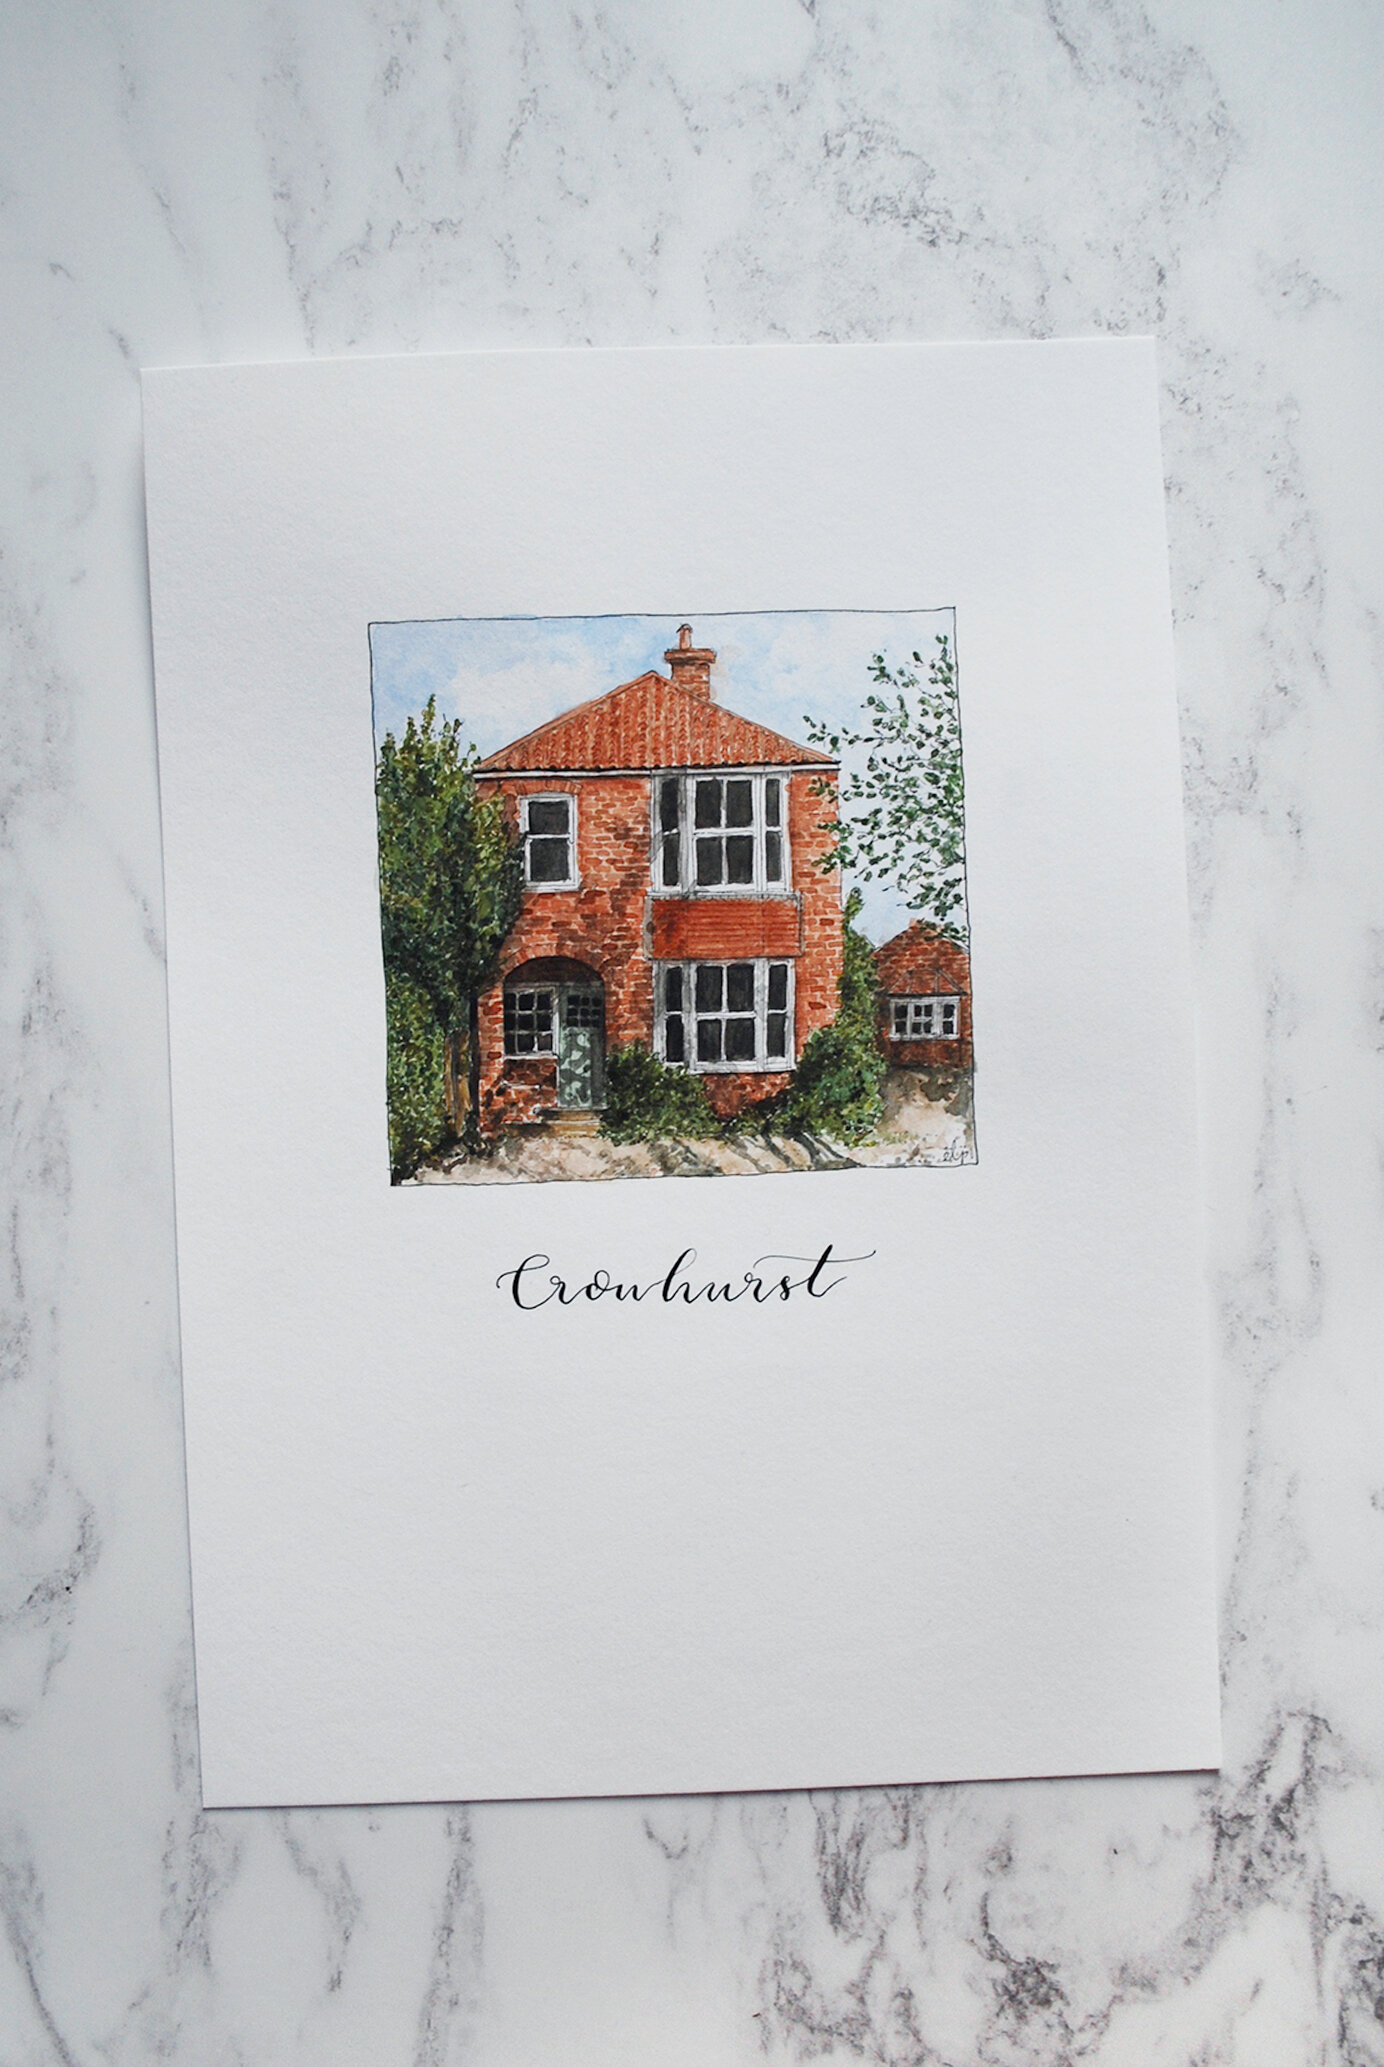
Have you ever wondered how these beautiful custom house portraits come together? Well look no further, these five steps will talk you through how I create your personalised house illustrations.
STEP 1 - SKETCH
Using a pencil I mark out a frame on the page, then start sketching the initial building shape from the photos you send me. I usually use a ruler to make sure verticals and horizontals are roughly straight and I’m happy with the proportions. I also mark out in pencil where the hand lettering below will go if that’s something you’ve asked me to include. Usually this is an address, dates or a little note like ‘first home’ or ‘home sweet home’, but it can be anything you like!
STEP 2 - INK
Next I go over all the pencil with a fine line black pen. This is done freehand so all the lines have a slight wobble and I love the organic feel this brings to the piece. I also add in the details at this stage which I will have confirmed when I checked you were happy with the pencil sketch. This might just be the intricate details from your photos, or it might be adding in really personal pieces like some special flowers in the garden or even a family pet somewhere.
STEP 3 - INITIAL WASHES
This is where I get my watercolours out and I start your custom painting with light washes of the main colours in the piece. Depending on the detail of your photos, I might do a second layer of washes to add a little bit more depth and texture already, or I might move straight onto the next stage.
STEP 4 - DETAIL
Once the initial washes are dry I start adding in the detail. For houses this often starts with the brickwork, then layering up things like the roof, windows and any grass or greenery there is to see. This is quite a time consuming part of the illustration and where the picture really starts to come to life.
STEP 5 - SHADING
Once I’m happy with the level of detail I take a step back then start to work into the painting again, this time looking at all the shadows and lighting in more detail. This usually takes two or three layers to get the contrast and depth of your house portrait just right. This process of layering over and over again allows me to see it build up as a whole picture, rather than starting with stronger or bolder colours from the beginning. By the end of this final step your beautiful bespoke house illustration is ready to send to you and it will seem as though you could actually step inside.
If you’d like to know a bit more about the practical side of commissioning an illustration, you can head over to my blog ‘Creating Your Bespoke Illustration - A step-by-step guide to illustration commissions’ or if you have any questions, you can get in touch here.
If you would like to ask about commissioning a house portrait or have any questions, click here to get in touch. If you would like to read a bit more you can head to my blog post on creating your bespoke illustration which goes into a bit more detail and includes some FAQ’s at the bottom.


